
How to Prepare for Your First Online Singing Lesson
If you’re here, chances are that you just made a booking with one of our coaches for an online lesson. Congrats on taking the first step towards better singing!
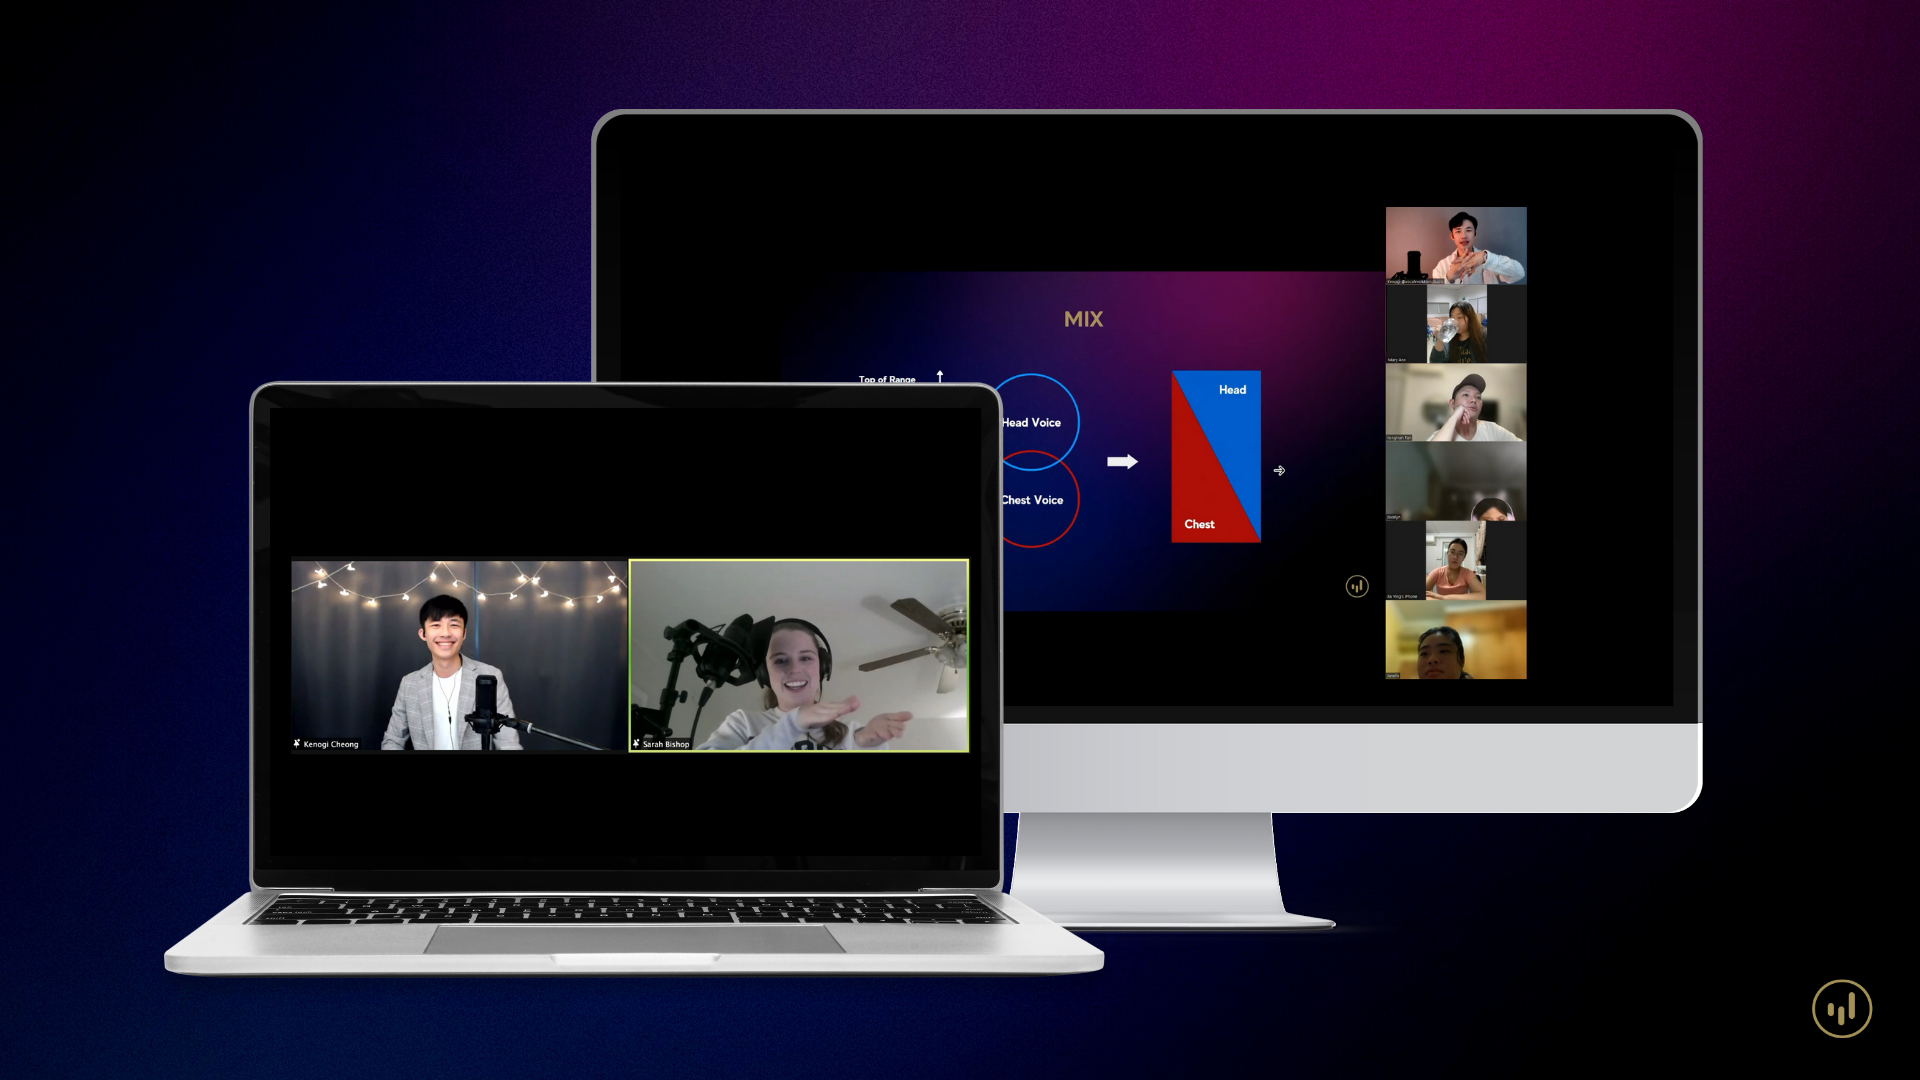
Contrary to popular belief, online singing lessons can be highly effective in delivering results as compared to in-person lessons.
6 steps to preparing for your lesson:
Schedule It In Your Calendar
Prepare Two Songs
Audio Devices Setup
Video Setup
Zoom Settings
Water & Note-Taking Materials
Step 1: Schedule It In Your Calendar
It is recommended that you get yourself ready at your computer with all the necessary technical setup done around 10 minutes before your lesson to reduce the chances of you having to rush due to unforeseen circumstances and then start your lesson feeling stressed out.
Even though we do our best to block in transition times and end before the next lesson, we may end up giving a client just a bit more time and end up having to start a bit later. Sometimes it may be you, and sometimes it may be the client before you. Please understand that, and be prepared that we may start a couple minutes late!
Step 2: Prepare Two Songs
Do you want to improve your range? Strength? Low notes? Or pitching?
Pick two songs (one main and one backup) that will allow us to work on that one thing that you struggle with slightly (e.g. stability, tone, control, range).
If it's too easy we won't have much to work on and if it's too difficult it's probably gonna take more time to see results.
Prepare:
- Backing tracks for both songs (e.g. YouTube, mp3 file) that can be played on your phone (if your laptop is the device for our video conferencing); and
- Lyrics (either together with the backing track in a karaoke video or printed out on paper)
Step 3: Audio Devices Setup
1. Device for video calling:
A computer - laptop or desktop
My favourite combination is for you to hear me through the speaker, and speak / sing through a microphone
1st choice: Condenser mic

2nd choice: Wired-earpiece mic (non-bluetooth)

3rd choice: Laptop mic (Macbook in-built mics are great; Windows ones tend to not be as good)
Tablets and phones can work, but are nowhere as good as compared to a computer.
2. Device for playing music:
The computer - Play via computer speakers
Phone/tablet - Connect to external speaker(s) for best experience.
Step 4: Video Setup
Make sure that the lighting and angle are decent and we can see you properly.
It is encouraged (but not necessary) that you stand up for the lesson.
We may ask you to sit down if there’s a need to work on certain stuff like your breathing.
As we occasionally use lesson recordings for content, please let us know prior to the lesson If you are not comfortable with it .
Step 5: Zoom Settings
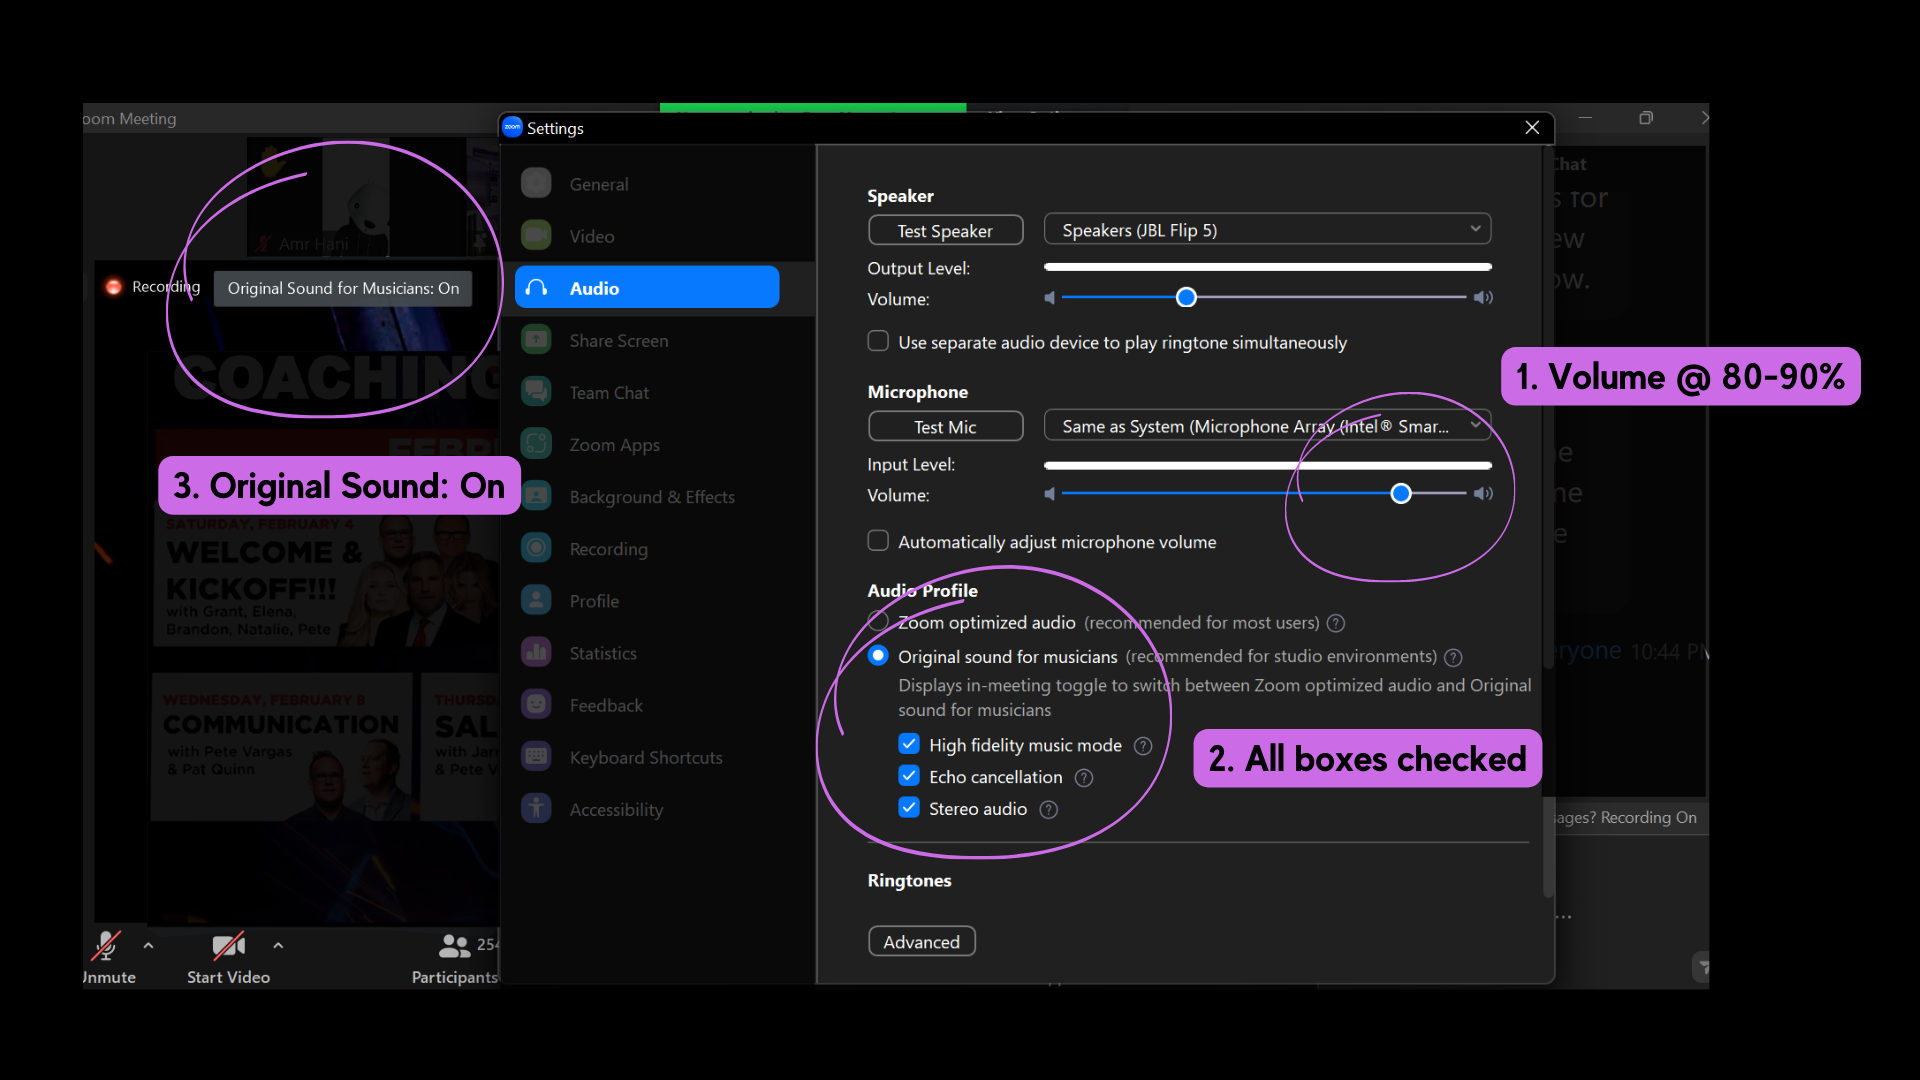
1. Zoom’s default settings are optimised for speech, not singing, so you'll have to adjust them for online singing lessons, as shown in the image above.
2. Turn on Original Sound by clicking the button when you join the meeting for our lesson. Zoom turns this off by default so it will revert back to “off” everytime you close Zoom.
Step 6: Prepare Water and Note-taking Materials
Stay hydrated and have pen and paper around so that you can take down key learning points!
Summary: Before Lesson Checklist
1. Be ready 10 minutes before your lesson
2. Song: Backing tracks ready to be played on your computer or phone (with external speakers for best experience) + lyrics
3. Zoom is open on your computer
4. The selected audio input and output in Zoom are correct
5. A glass/cup/bottle of water next to you
6. Optional but encouraged: Pen and paper for taking down notes